How To Make Harsh Bathroom Lighting Softer Without Replacing The Fixture
Disclosure
This post may contain affiliate links. If you purchase through these links, I may earn a small commission at no extra cost to you. As an Amazon Associate I earn from qualifying purchases.
Your bathroom light can be uncomfortable even when the room is small and the fixture looks ordinary. The bulbs reflect in the mirror, the white tile feels glaring, or the light makes getting ready unpleasant first thing in the morning.
To make bathroom lights less harsh, identify whether the problem is exposed-bulb glare, excessive brightness, an unwanted light color or shadows on your face. Compatible frosted bulbs, a more suitable lumen output or a different color temperature may improve the existing fixture. Each addresses a different problem.
Start with the complaint you actually have. Making everything dimmer is not an improvement if you can no longer see clearly to shave, apply makeup or clean the room.
Identify What Feels Harsh Before Buying Bulbs
Assess the bathroom from the positions where you normally use it: standing at the mirror, entering the room and moving toward the shower. You do not need to stare directly at the bulbs.
Notice which description fits:
- The bright bulbs catch your eye directly or in the mirror. Start by checking exposed light sources and diffusion.
- The entire room feels excessively bright. Compare the bulbs’ lumen output and any available brightness controls.
- The light looks too blue, clinical or yellow. Check color temperature separately from brightness.
- Your face has strong shadows even though the sink is bright. The direction of the light may be the main problem.
More than one can apply. A clear, high-output bulb can be both glary and too bright, for example.
If ceiling and vanity lights operate separately, compare their contributions using the existing switches while maintaining enough light to move comfortably. This helps you identify the source that bothers you before changing every bulb in the room.
Check What Your Existing Fixture Allows
First establish whether the light has replaceable bulbs or integrated LEDs.
A vanity bar with screw-in bulbs gives you different options from a sealed LED bar or an illuminated mirror. For an integrated light, check its model instructions for built-in brightness or color settings. Do not open the fitting to look for adjustments unless its user instructions direct you to an accessible control.
For a fixture with replaceable bulbs, photograph the current bulb markings and the fixture label. Before buying replacements, check:
- Base and bulb size: the replacement must fit the socket and any surrounding shade.
- Actual wattage: stay within the fixture’s electrical limits; an LED’s “60-watt equivalent” is not its actual power consumption.
- Enclosure suitability: a bulb behind an enclosed cover must be approved for that use.
- Location suitability: follow the bulb and fixture instructions for the bathroom conditions and placement.
- Dimming compatibility: check the exact bulb and control if a dimmer is present.
An LED is not automatically suitable for every covered fitting. For example, GE Lighting advises against using its Cync Smart Light Bulbs in enclosed fixtures because overheating can shorten the electronics’ life. That is a product-specific restriction, not a rule that every LED bulb has the same limitation.
Turn the light off and let bulbs cool before changing them. If the fitting is damaged, smells scorched or behaves abnormally, arrange maintenance rather than treating it as a lighting-style problem.
If Exposed Bulbs Cause Glare, Start With Diffusion
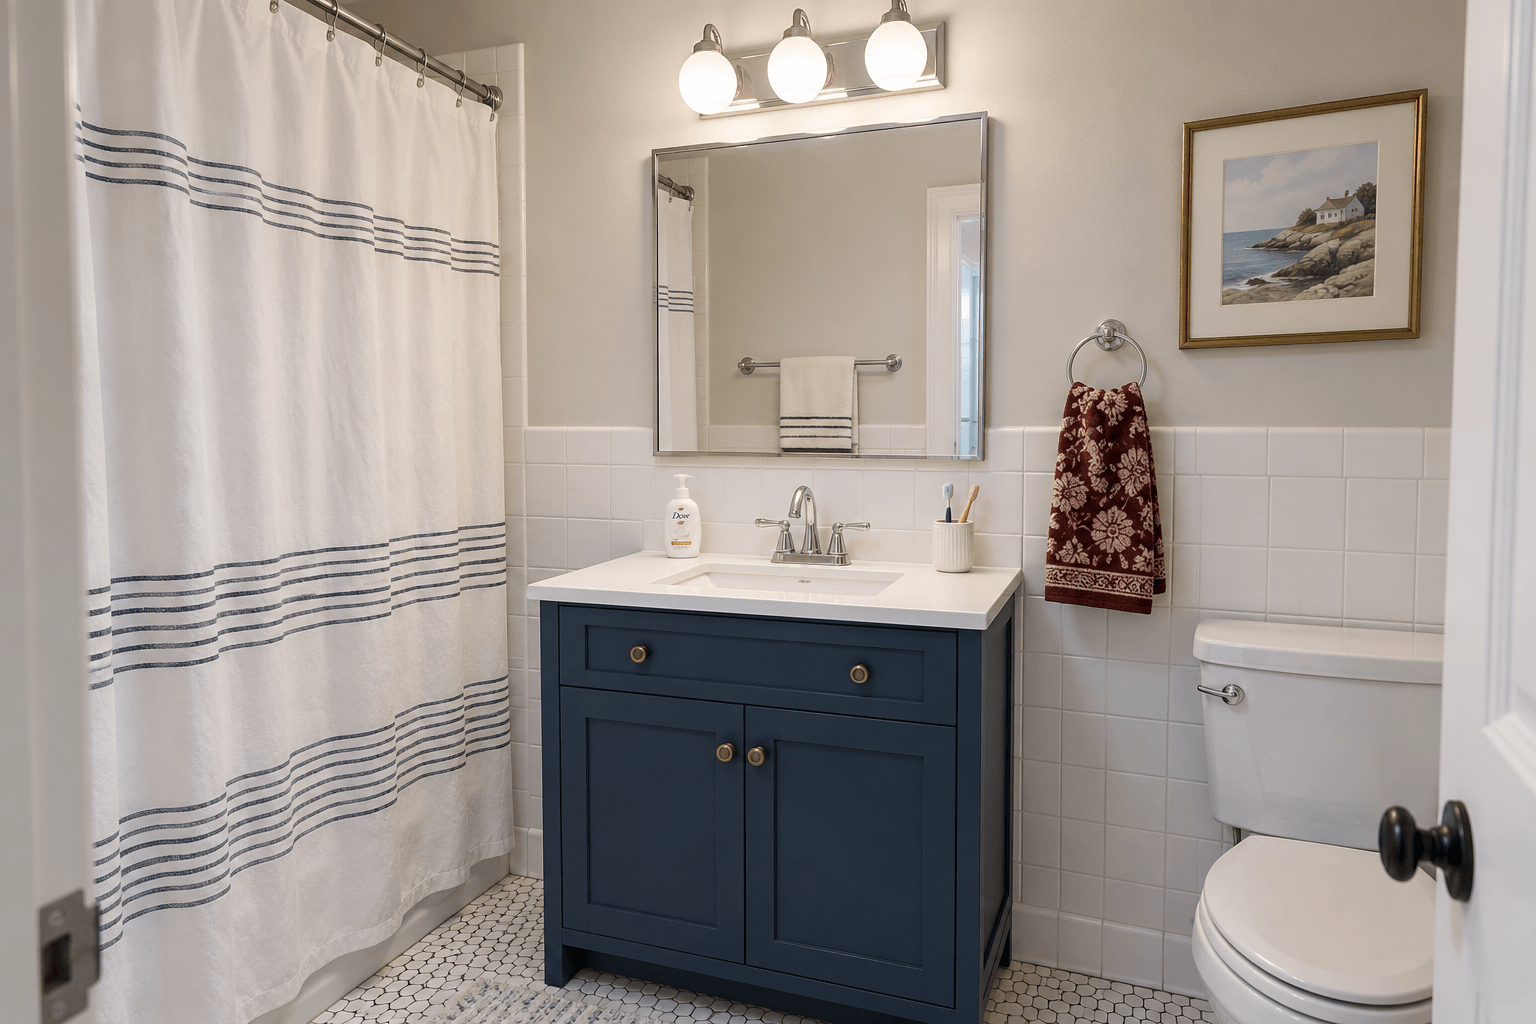
Clear decorative bulbs can leave their bright light-emitting elements plainly visible. At a bathroom mirror, you may see the bulb itself and its reflection during ordinary use.
A compatible frosted or opal bulb is worth trying when visible clear bulbs are the main source of discomfort. Its translucent surface spreads the appearance of the light source rather than leaving a sharply visible filament or LED element.
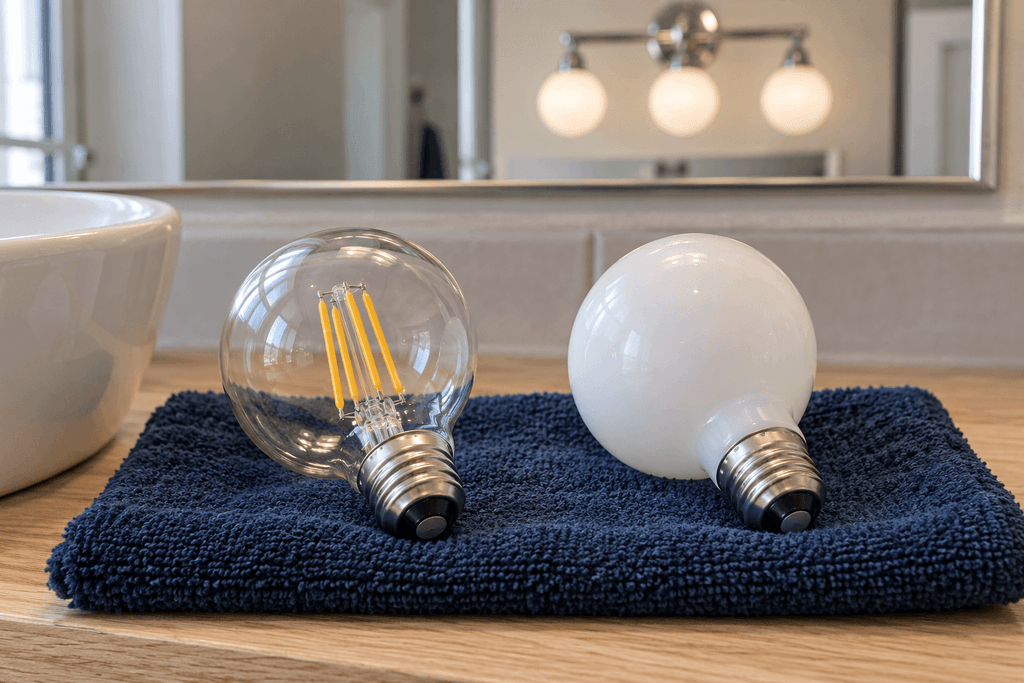
Check the new bulb’s lumens and color temperature too. A frosted replacement with much higher output could still feel excessively bright. Likewise, a warm-colored clear bulb can remain glary; warm light and diffused light are different characteristics.
If the fixture already has a shade or diffuser, check whether it is the correct part and properly fitted. An approved replacement shade may be an option, but confirm compatibility before ordering. Similar-looking glass can have a different opening, weight or attachment method.
Do not wrap bulbs in paper, fabric or adhesive film, or improvise a cover over the fixture. Use bulbs and covers intended for the fitting rather than obstructing its ventilation or creating an unapproved assembly.
For an integrated LED bar with a missing or damaged diffuser, ask about the correct replacement part. A change to bulb color is not available if there are no replaceable bulbs.
If The Whole Bathroom Is Too Bright, Compare Lumens
Lumens describe light output; watts describe energy use. The FTC’s Lighting Facts guidance explains why wattage alone is not a reliable way to compare bulb brightness.
Look at every bulb in the fixture. A multi-bulb vanity light can produce much more light than the number on one package initially suggests.
For an illustrative comparison:
- Three bulbs rated at 800 lumens each have a combined rated output of 2,400 lumens.
- Three bulbs rated at 450 lumens each have a combined rated output of 1,350 lumens.
These figures show how bulb outputs add together. They are not recommended targets for your bathroom, and they do not measure the light reaching your face. Shades, fixture direction, room finishes and other lights affect the result.
If your current setup is clearly excessive, compare a compatible matched set with lower output rather than buying by “warm white” alone. Keeping the color temperature similar during that comparison makes it easier to judge whether reduced output addresses the problem.
Do not automatically reduce every light in the room. The mirror may feel glaring while the shower or floor is poorly lit. In that situation, lowering the vanity output might improve one position and worsen another.
If The Color Feels Wrong, Check Kelvin Separately
Color temperature describes the shade of white light and is listed in Kelvin, shown as K. It does not tell you how much light the bulb produces.
As a broad guide, 2700K appears warm and yellowish, 3000K is a somewhat less yellow warm white, 4000K appears cooler, and 5000K is commonly described as daylight. Check the numeric value rather than relying only on names such as “bright white,” which can differ between product ranges.
If a 5000K bulb feels too cool in your bathroom, a compatible 3000K option is a reasonable comparison. If 2700K feels too yellow for getting ready, you might prefer 3000K or 4000K instead. There is no single color temperature every small bathroom must use.
Try to keep the lumen output similar when comparing color, so you can judge the characteristic you intended to change. Assess it after dark as well as during daylight.
Avoid leaving a row of mismatched warm and cool bulbs around the same mirror. A consistent set gives you a clearer basis for evaluating the result.
For makeup or other color-sensitive tasks, also consider color rendering. A published CRI of 90 or above can be a useful selection criterion for color fidelity. It does not guarantee comfortable brightness or fix glare, so do not treat CRI as an alternative to checking those issues.
If Your Face Is Still Shadowed, Recognize The Bulb Swap’s Limits
A light can illuminate the basin and countertop while leaving shadows around your eyes or under your chin.

Warmer bulbs and lower output do not change the direction from which the light reaches your face. If the source is mainly above you, that placement may remain the limiting factor after a bulb swap.
Bathroom-lighting guidance from Philips describes side lighting around the mirror as a way to improve facial illumination and reduce shadows. However, installing new wall lights is a different project from changing bulbs in an existing fixture.
If your present mirror already has a built-in light, try its settings before adding anything. A supplementary illuminated grooming mirror may also help with a specific task, provided it is suitable for its bathroom location and has a stable, practical home.
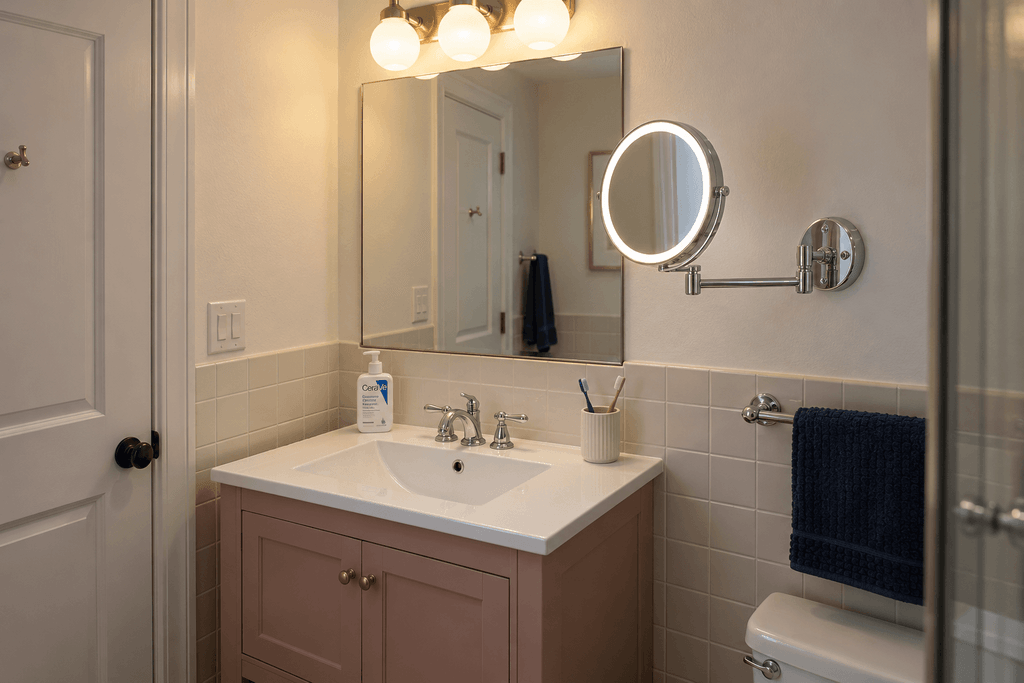
In a small bathroom, consider what happens after you use it. Does a tabletop mirror occupy your only space for toiletries? Can a mounted mirror swing without hitting a cabinet or doorway? Where will a cord or charging equipment go according to the product instructions?
A battery-powered label alone does not establish that a light is suitable beside a sink or shower. Check its intended use and mounting requirements. Avoid solving a lighting complaint by placing an ordinary portable lamp on a crowded, splash-prone basin edge.
If You Want Adjustable Brightness, Check The Controls
Dimming can be useful when you want brighter light for grooming and gentler light at other times. The available route depends on your existing setup.
An Existing Wall Dimmer
Use dimmable bulbs that are compatible with the exact control. “Dimmable LED” on the package does not establish compatibility with every dimmer.
Manufacturers may provide their own Compatibility tool for matching tested bulbs with their controls. Check before purchasing, especially if your present bulbs flicker or dim poorly.
A Standard On-Off Switch
A conventional dimmable bulb will not provide adjustable brightness through a standard on-off switch by itself.
An appropriately specified smart bulb may offer app or wireless control without replacing the fixture, but it still needs to fit the enclosure and location and work with the existing electrical controls. Follow the exact product’s requirements.
Smart controls are an option, not a necessary upgrade if a suitable fixed-output bulb already solves the complaint. They also need to remain convenient for everyone who uses the bathroom.
An Integrated LED Fixture Or Mirror
Check the existing operating instructions. Some have user-accessible brightness or color settings; others do not. Do not assume a new wall dimmer can control an integrated fixture unless its specifications permit it.
Installing or changing a hardwired dimmer is electrical work. Renters should arrange permission and appropriate installation rather than treating it as part of a bulb change.
Test The Result Before Buying More Lighting
Give the revised setup a practical check during your normal routine.
At the mirror, can you see the detail you need without a bright source repeatedly catching your eye? At night, can you move around, identify water on the floor and see into the shower? Does the lighting remain useful when you stand slightly away from the basin?
Assess both comfort and visibility. A bathroom that looks pleasantly soft in a photograph can still be inconvenient for shaving, makeup or cleaning.
Use the result to decide what to do next:
- Visible bulb glare improved: keep the compatible diffused setup if it still provides enough useful light.
- Overall brightness improved: stop reducing output once comfort and visibility are balanced.
- The color improved but glare remains: revisit diffusion and output rather than repeatedly choosing warmer bulbs.
- Facial shadows remain: address the light’s direction or task-lighting arrangement instead of buying another near-identical bulb.
Once the existing fixture feels comfortable and supports the tasks you use the bathroom for, you do not need to add more lighting simply to complete a decorative scheme.