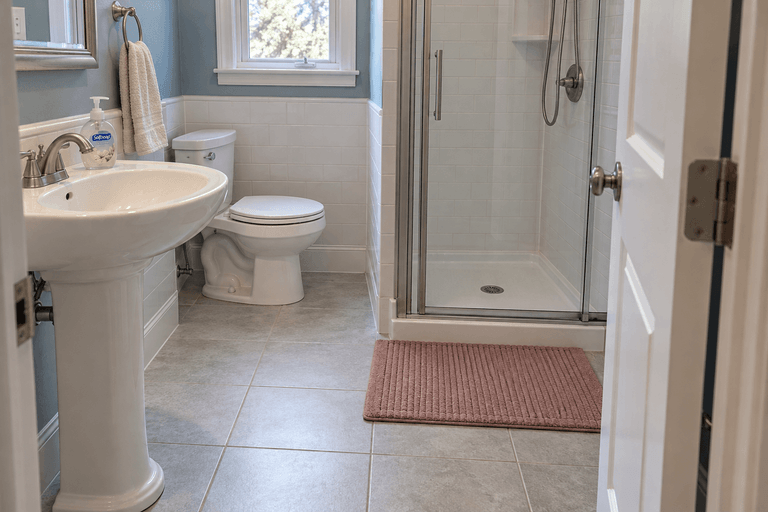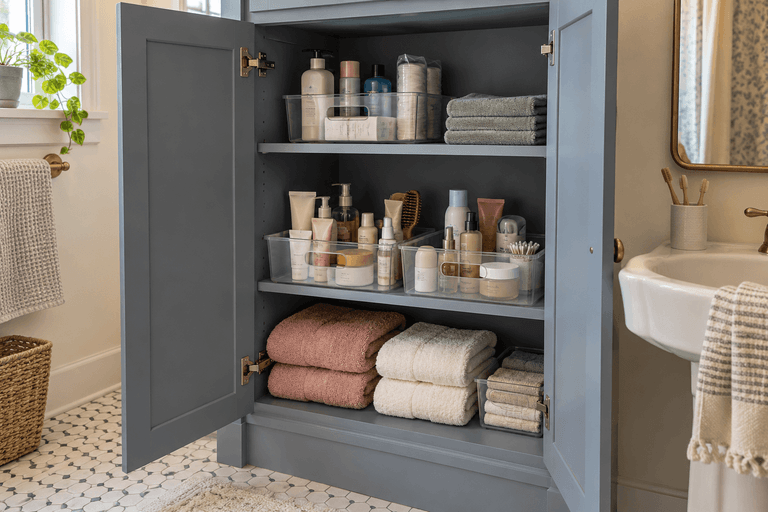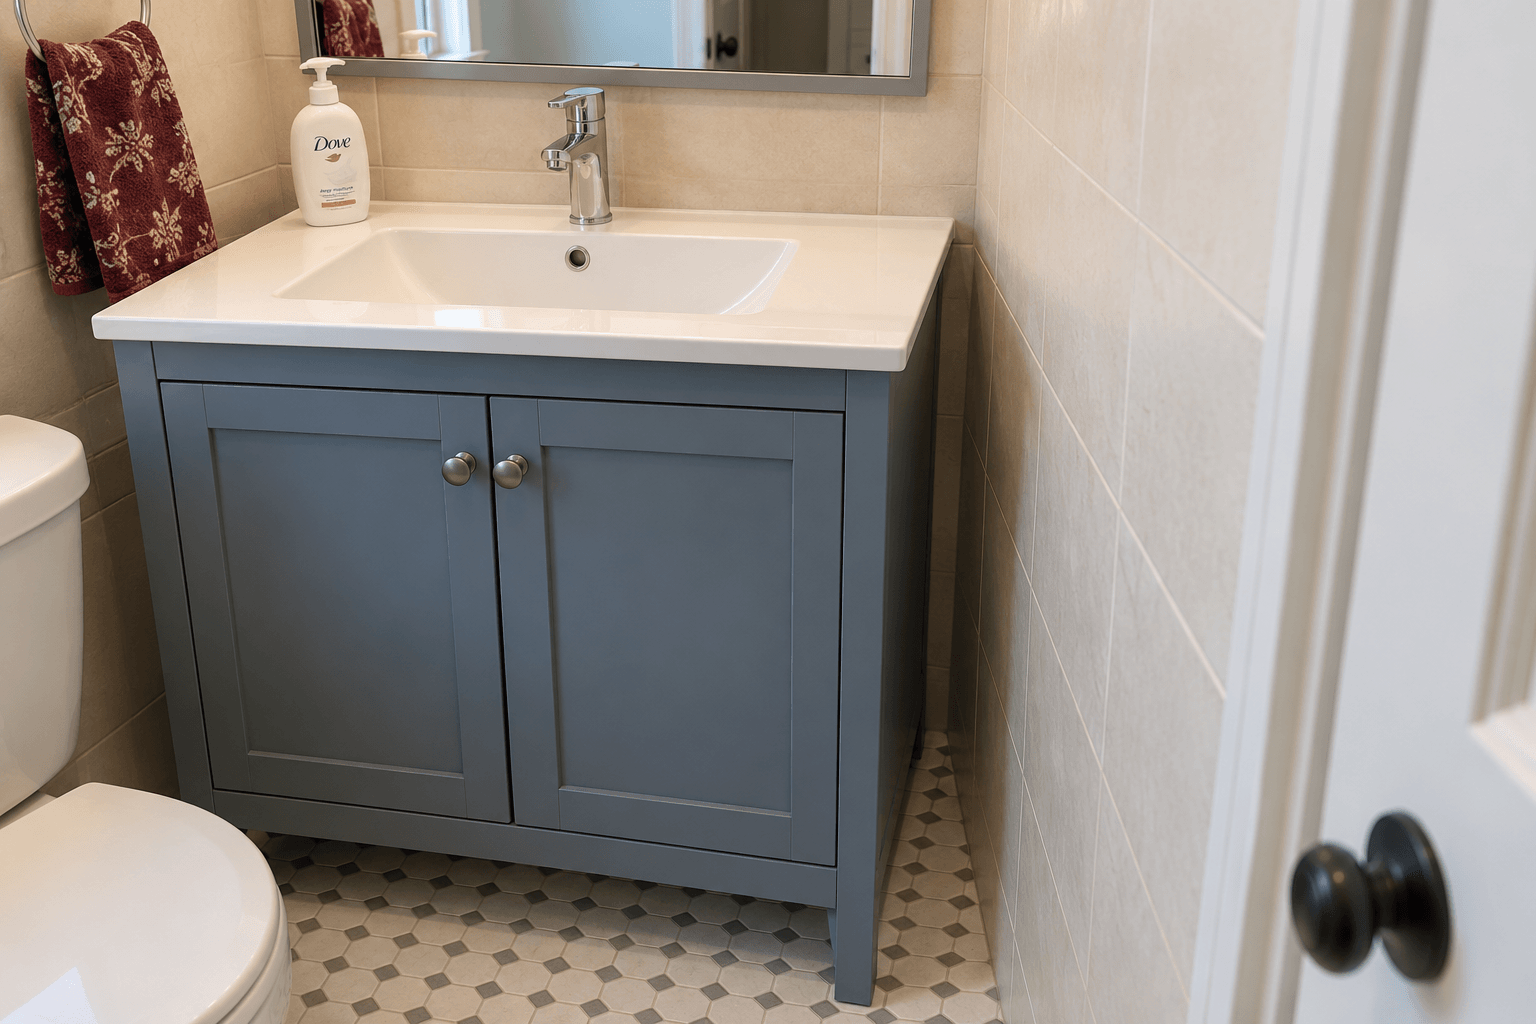
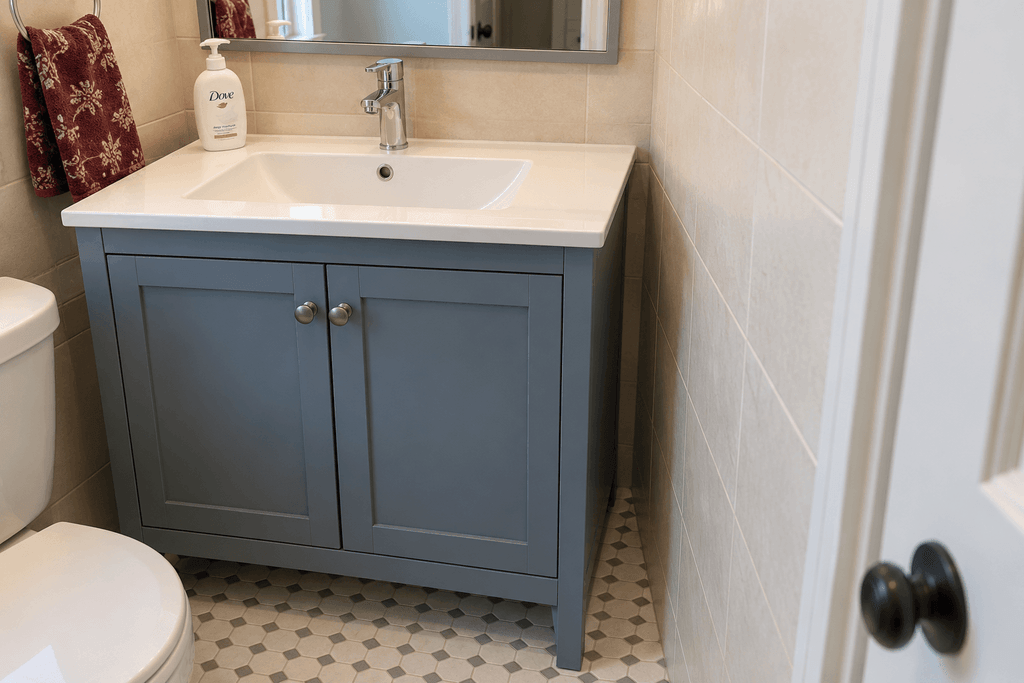
Gap Between Bathroom Vanity And Wall? What To Cover And What To Leave Open
Disclosure
This post may contain affiliate links. If you purchase through these links, I may earn a small commission at no extra cost to you. As an Amazon Associate I earn from qualifying purchases.
A gap beside the bathroom vanity can become a place where hair collects, toiletries disappear and splashes are difficult to wipe up. In a small bathroom, it can also look like storage space you ought to use even when nothing seems to fit properly.
The right way to handle a gap between a bathroom vanity and wall depends on what is separated: the countertop, the cabinet or the entire side of the unit. A joint beside the countertop may need sealing. A cabinet-side opening may suit a fitted filler. A wider floor gap may be better left accessible or used for removable storage.
Before buying trim, sealant or a skinny cart, identify which problem you are solving: water entering a joint, an unfinished-looking installation, difficult cleaning or a shortage of storage.
Identify Which Gap You Have
Look at the top, cabinet front and floor separately. They may show different gaps because the countertop projects beyond the cabinet.
A Joint Between The Countertop And Wall
This is the line where the side or back of the top approaches the wall or backsplash. It needs to be assessed as part of the sink installation and its water protection.
Covering the cabinet opening below does not automatically seal this joint.
An Opening Beside The Cabinet
The top may reach the wall while the cabinet beneath stops short. This can leave a visible vertical opening at the front or an inaccessible strip down the side.
A cabinet filler may finish that opening, depending on the vanity’s design. It is a different component from a countertop extension or backsplash.
Open Floor Space Beside The Whole Vanity
Both the top and cabinet stop short of the side wall, leaving an open slot. Check whether it is wide enough to clean, whether it regularly gets wet and whether anything needs to remain accessible there.
A space that looks awkward does not automatically need filling. First decide whether closing it would improve the bathroom’s use.
Check Why The Gap Exists Before Covering It
A gap may reflect the size of the vanity, an uneven wall, projecting trim or the position required for drawers and doors to operate. It may also be part of an installation that needs attention.
Check the model instructions and look at the surrounding details:
- Does the countertop overhang make the opening narrower at the top?
- Is the gap wider at the front than the back, or at the top than the bottom?
- Does a baseboard prevent a cart or filler from reaching the position you expected?
- Do drawer fronts, doors or handles need space beside the wall?
- Are pipes, valves, an outlet or an access panel actually located in the gap?
Take measurements at several points rather than recording only the easiest-to-reach width.
Do not try to pull an installed vanity sideways simply to make it meet the wall. Its fixings, countertop connections and plumbing may be affected. Have the installation assessed if the gap appears to result from movement or poor alignment.
When A Small Countertop Joint Needs Sealing
If water from normal sink use can enter the joint where the top meets the wall, check how that joint is intended to be finished. A suitable sealant may be part of the answer.
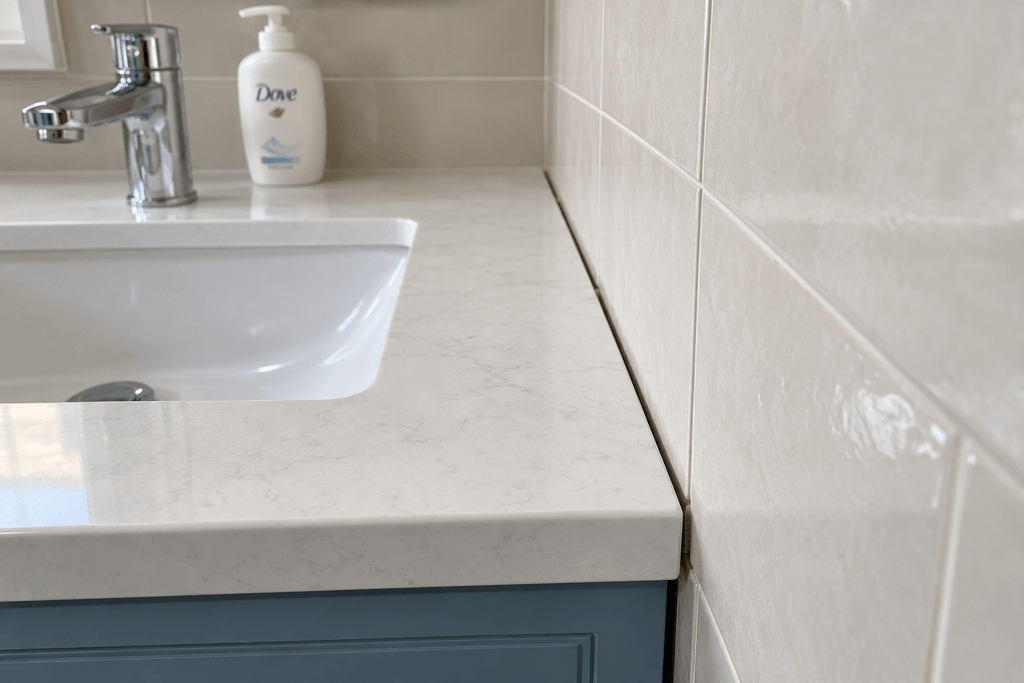
Choose the sealant for the actual materials and joint not just because the tube says “bathroom.” The vanity finish, countertop, wall surface and manufacturer’s instructions all matter.
For example, some instructions may specify siliconized acrylic caulk for attaching the top and warn that 100% silicone can damage that cabinet’s finish. That warning concerns that installation; it illustrates why a universal “use silicone everywhere” instruction is inadequate.
The gap’s shape and depth matter too. Sealant manufacturers specify preparation, joint dimensions and any backing requirements. Gorilla’s Kitchen & Bath silicone directions, for example, call for backer rod above a stated gap width. That does not mean the same product and method suit every vanity joint.
Before applying anything, establish:
- Whether the joint is within the selected product’s application limits.
- Whether backing or another finishing component is required.
- How existing sealant should be removed without damaging the surfaces.
- The required cleaning, drying and curing conditions.
Follow the product’s water-exposure instructions before using the sink normally again.
A wide open slot is not simply a narrow joint that needs more caulk. Where the top does not approach the wall closely enough for the intended joint design, ask about a properly fitted splash, finishing piece or revised installation.
When A Cabinet Filler Panel Makes More Sense
A filler is a fitted piece that closes the opening between the cabinet and adjacent wall. It can make a compatible installation look finished without pretending the entire gap is a sealant joint.
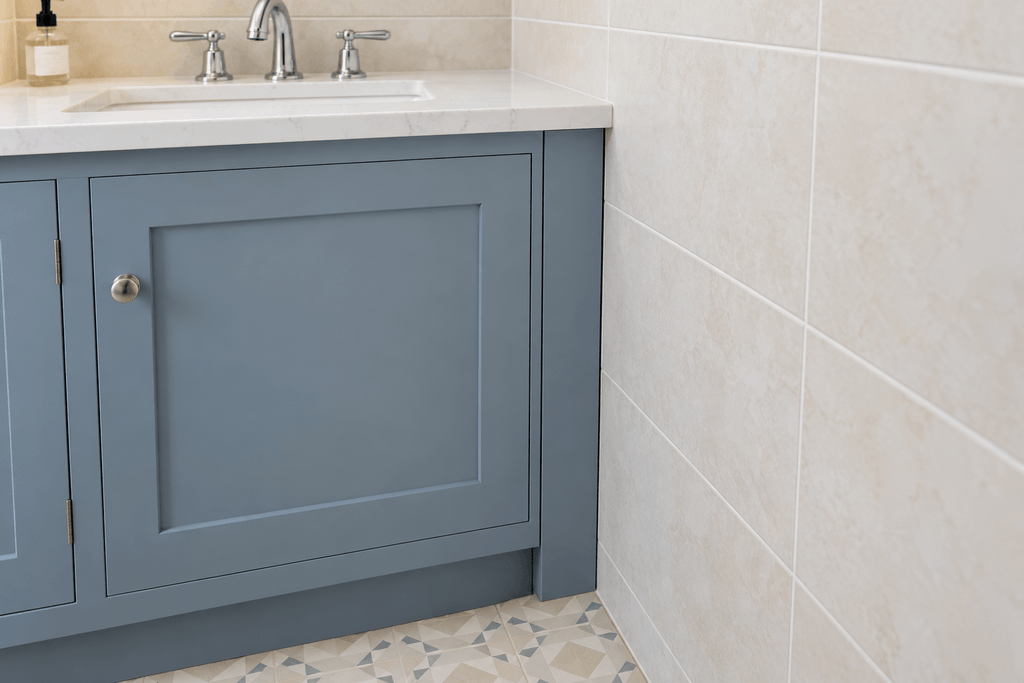
Some models includes an optional side filler in the instructions for a vanity installed against a wall. Other models may use different parts or fixing methods, so start with the cabinet manufacturer rather than buying the first strip that matches its color.
Ask how the proposed filler will meet the wall and cabinet, whether it needs shaping to the wall and how its exposed edges will be finished for the location. Also check drawer and door movement before fixing it in place.
A front filler can hide the view into the gap without closing the space above or below it. If your main complaint is dropped items, water or inaccessible dirt, ask how the complete detail addresses that complaint.
A cabinet filler also does not automatically support an extended countertop. If you want a ledge or a top that reaches the wall, its material, support and connection need to be designed for that use.
Do not add a board and treat it as a shelf simply because it spans the opening.
When Leaving The Gap Open Is Better
Leaving space beside a vanity is reasonable when the installation permits it and you can keep the area clean and usable.
Before closing it, check what you would lose access to. A gap containing an actual valve, service opening or electrical connection needs a plan that preserves the necessary access. Do not assume every vanity gap serves this purpose, but inspect yours before covering it.
For an ordinary open gap, test cleaning from the position you can realistically reach. Can a suitable vacuum attachment or soft cleaning tool reach the floor and rear corner? Can you retrieve a dropped item without removing the installed vanity?
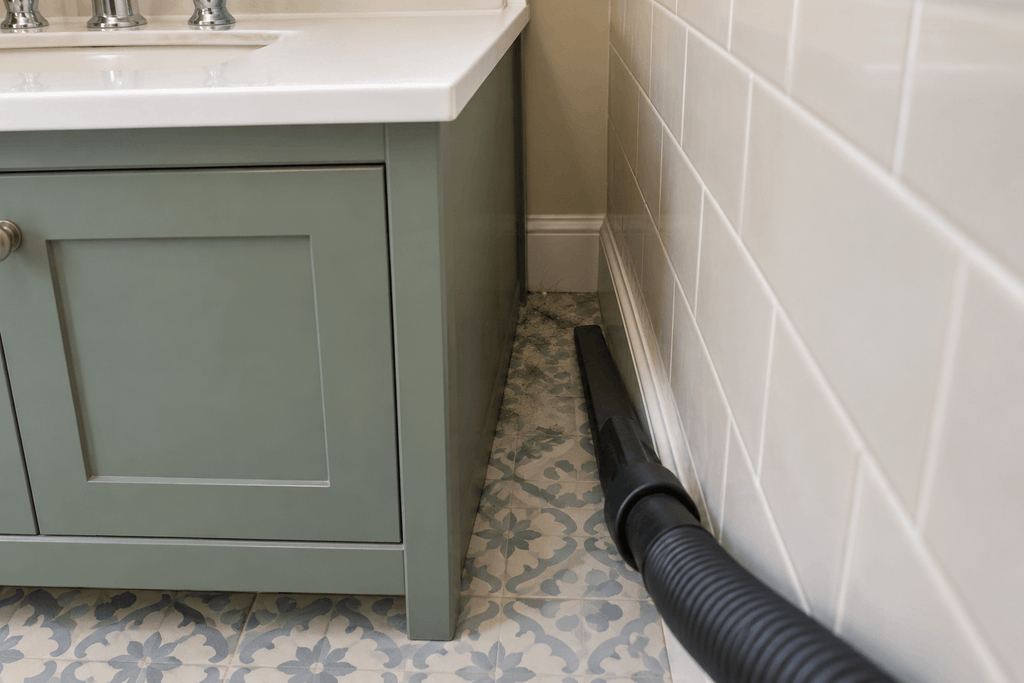
Choose tools and cleaners that suit the wall, cabinet and floor finishes. Avoid forcing abrasive tools into a tight space or pouring water down it because wiping is difficult.
If a gap repeatedly catches splashes that you cannot reach to dry, leaving it unchanged may be inconvenient. Ask about a properly designed finishing solution rather than placing a decorative cover over a persistently wet area.
The decision is not whether every inch looks filled. It is whether you can maintain the space without creating another problem.
Could The Space Hold A Slim Cart Or Removable Storage?
Some wider vanity gaps can hold useful storage. Many narrow ones cannot.
Measure the organizer’s complete outside size against the narrowest part of its route. Include wheels, handles, projecting shelves and the countertop overhang.
Product listings do not always label width and depth in the way you expect. Use the dimension diagram to identify the short side that must pass into the slot. Also check the longer side against the available depth.
For an illustrative example, a gap may measure 6 inches between the cabinet and wall but narrow to 4½ inches beside the projecting countertop. A cart with a 5-inch-wide section that must pass that overhang will not slide through as planned, even though the lower gap looks large enough.
Then test how the storage would work:
- Loading: can bottles stand upright and clear the countertop or shelf above?
- Removal: can you pull the organizer out without moving the trash can or colliding with the toilet?
- Retrieval: can you grasp what you need, or does the entire unit have to come out each time?
- Cleaning: can you remove it to reach the wall and floor?
- Exposure: are the organizer and its contents suitable for the moisture they will encounter?
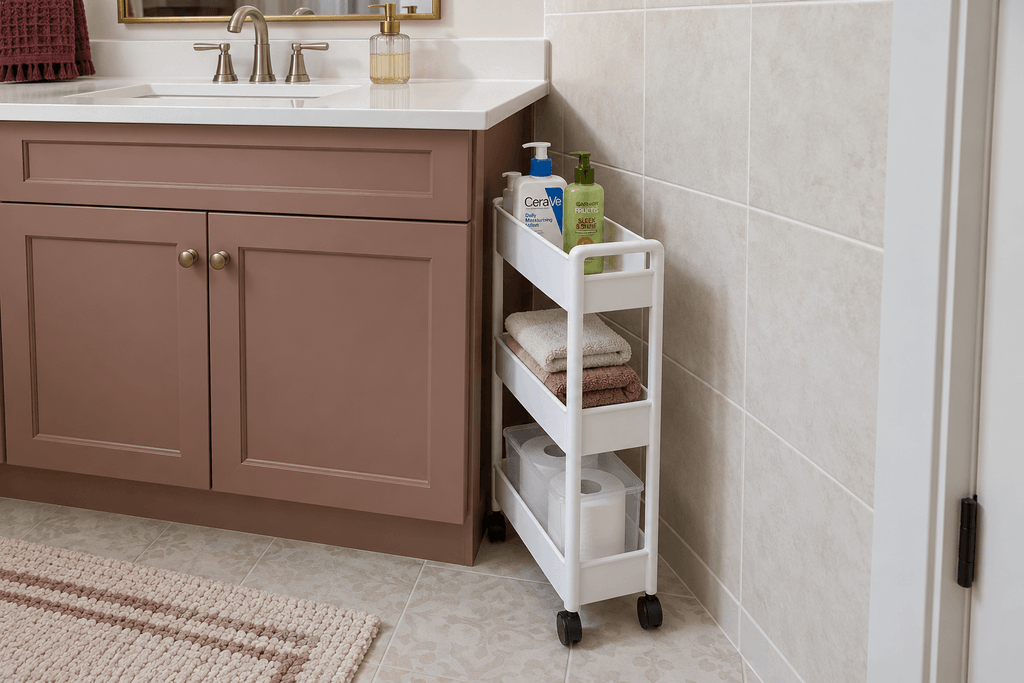
Use a cardboard box of similar outside dimensions to check the route before buying. Include a mock handle if that is the widest point.
Avoid packing the slot with loose bottles. Removable storage should make access easier, not create another hidden row you cannot inspect.
What Renters Can Do Without Altering The Vanity
If the installation is sound and the gap is dry, start with cleaning access and removable storage where it genuinely fits.
Photograph a troublesome countertop joint or inaccessible wet gap and report it to the landlord or property manager. State what is happening: water entering the joint, a dropped item you cannot retrieve or a cabinet edge that appears damaged.
Peel-and-stick trim is not automatically a damage-free or watertight solution. Check the product’s permitted surfaces, removal method and any required preparation before using it, and obtain permission for alterations where needed.
Do not loosen the vanity, alter plumbing or permanently close an opening as a decorating experiment.
If a basket or trash can is the practical solution, check its operation as well as its footprint. A lid may hit the countertop, and a container wedged tightly into the slot can become difficult to empty. See where to put a trash can in a small bathroom for those clearance checks.
Investigate Moisture Or Damage Before Hiding The Gap
Look into the opening with a flashlight before covering it. Check for visible water, swollen cabinet edges, damaged wall finish or water appearing again after the area has been dried.
These observations do not identify the cause by themselves. Water could be reaching the space from the basin area, a failed joint or plumbing that needs attention. Find and address the source before installing a cover or storage unit.
A bathroom cabinet should not be assumed capable of tolerating persistent wetting simply because it belongs in a bathroom.
Covering damage does not resolve what caused it. If the condition recurs or you cannot inspect the affected area, arrange an appropriate assessment.
For a sound installation, match the treatment to the problem: finish a countertop joint correctly, use a compatible filler for a cabinet opening, or keep a wider gap accessible. Add storage only when you can use it, remove it and clean around it comfortably.
An empty strip beside the vanity is acceptable when it serves the bathroom better than a tightly fitted object.