Where to Store Cleaning Supplies in a Small Apartment Without a Utility Closet
Disclosure
This post may contain affiliate links. If you purchase through these links, I may earn a small commission at no extra cost to you. As an Amazon Associate I earn from qualifying purchases.
A broom behind the kitchen door, cleaning bottles beneath the sink, and a vacuum parked beside the couch can make an apartment feel as though it has no room for the things that keep it clean.
Without a utility closet, those supplies often need more than one storage location. Bottles need suitable contained storage. Long-handled tools need height and clearance. A vacuum needs somewhere you can retrieve it without moving half the room.
Cleaning supplies storage without a utility closet works best when each location suits the item and your routine. Start with space you already have before adding another cabinet or cart
Separate Your Everyday Cleaning Kit From Your Refills
Take stock before choosing organizers. Group what you own into:
- Frequently used products: The cleaners and dry cloths you reach for regularly.
- Occasional products and refills: Supplies needed less often and unopened replacements.
- Tools: Broom, mop, dustpan, vacuum, and attachments.
Remove empty packaging and check whether forgotten products are still usable. Follow label directions and local disposal guidance for anything you no longer need.
Keep your everyday kit manageable. A caddy containing every bottle in the apartment can become heavy and awkward to store.
You can separate supplies by frequency without treating every cleaner as interchangeable. Follow each product’s storage instructions, including any requirements to keep it apart from other substances.
Keep cleaning products in their original labeled containers. The EPA recommends keeping household chemicals out of children’s reach and using childproof locks on low cabinets. A storage basket or ordinary closed cabinet is not a substitute for controlling access.
Check Existing Cabinets Before Buying Furniture
Under the Kitchen or Bathroom Sink
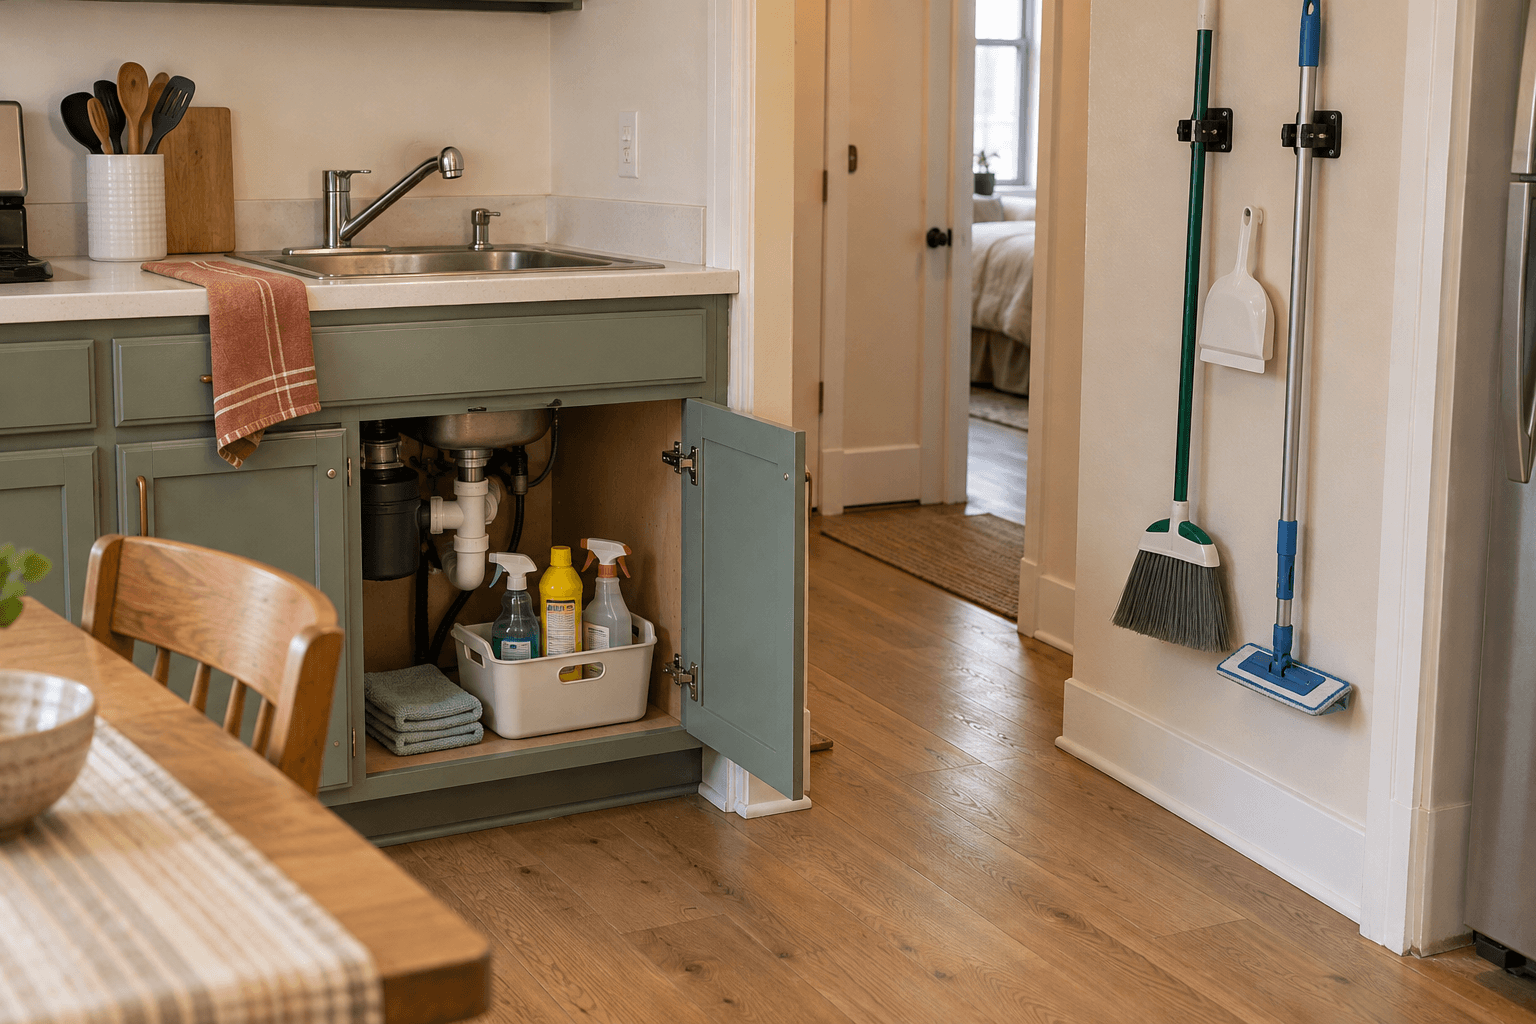
An under-sink cabinet can provide a practical home for cleaning bottles when it has suitable space and household access can be controlled.
Check for leaks first. Then measure around the pipes, hinges, and cabinet opening. Keep bottles upright and leave access to plumbing.
A removable washable bin can contain bottles and make the cabinet easier to wipe, but it does not make leaking or incompatible products safe to store together.
Avoid filling the entire opening with organizers. You should be able to remove the daily-use supplies without dismantling the arrangement.
A Dedicated Section of an Existing Cupboard
If under-sink storage isn’t suitable, look for another cabinet where the products can be stored according to their labels, away from food and food-contact items.
A designated compartment is easier to maintain than bottles scattered among unrelated belongings. Keep labels visible enough to identify the products.
If you are choosing between a convenient location and one that meets the storage instructions, the instructions take priority.
For cabinets with awkward depth, our guide to organizing deep bathroom cabinet shelves explains how removable bins and front-and-back zones improve access. Apply the access principles without ignoring the requirements of the cleaning products themselves.
Make a Small Portable Cleaning Kit
Choose a washable container with a handle you can grip comfortably. It needs to accommodate your actual bottles, including projecting spray triggers.
An existing caddy may be enough. Test it with your supplies before buying a larger replacement.
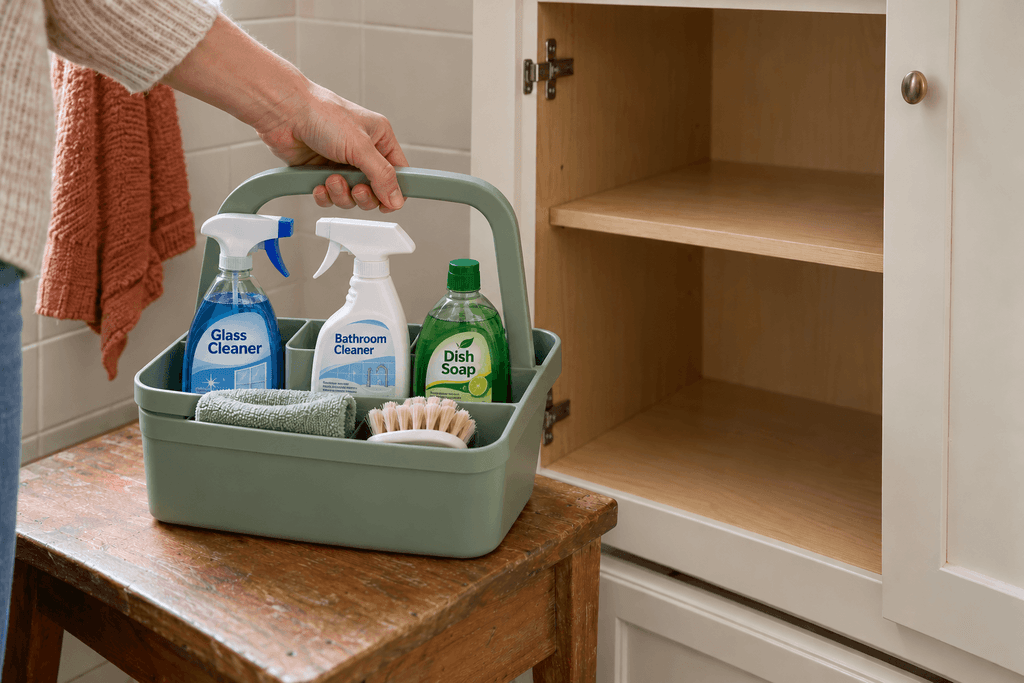
Keep the kit focused on a routine, such as the products and dry cloths you use for regular bathroom cleaning. Return it to its designated storage location after use rather than letting it become a permanent floor basket.
Keep used damp cloths out of the stored kit until they have been cleaned and dried as appropriate. A container that holds bottles is not automatically a good place to dry cleaning textiles.
A portable kit needs a home as well as a handle. Check that the loaded container fits through its cabinet opening and that you can lift it without scraping the shelf above.
If toiletries already compete for bathroom space, organizing a small bathroom with no counter space can help you decide what actually needs to remain near the sink.
Use a Narrow Cupboard Organizer When the Depth Works
A narrow organizer can help with a strip of usable cabinet space beside the plumbing. However, narrow width alone doesn’t establish fit.
The Joseph Joseph CupboardStore Easy-Access Wheeled Storage Caddy is one option for bringing cleaning bottles forward inside an existing cupboard.
Key Specs
- Width: 6.6 inches.
- Depth: 18.2 inches.
- Height: 4.4 inches, excluding stored products.
- Features: Wheels, a front pull lip, and separate sections for bottles and smaller supplies.
A Worked Fit Example
Suppose the clear strip beside your plumbing measures 7 inches wide and 19 inches deep. The 6.6-by-18.2-inch caddy leaves only 0.4 inch across the width and 0.8 inch along the depth. These are total differences, not clearance on each side.
That makes it a candidate, not a confirmed fit. A projecting hinge, cabinet lip, or pipe farther back could obstruct it. Your tallest bottle and its trigger must also clear the space above and beside the bin.
Test the footprint with cardboard along the entire retrieval path, then use an upright empty bottle to check height. These are illustrative measurements, not a cabinet we tested.
It won’t suit a shallow cupboard simply because its width is compact. It also doesn’t replace a carry-around cleaning kit or provide storage for a broom.
Give Brooms and Mops a Suitable Vertical Location
Look for a dry wall area or a clear section of an existing tall cupboard. Measure the whole tool, not just its handle.
A broom head projects beyond the handle. A flat mop may need room for its head to rotate or rest in the position specified by its manufacturer.
Check whether you can remove the tool without catching on a shelf, brushing against clothing, or blocking a doorway.
A No-Drill Holder for Compatible Handles
Command Broom and Mop Grippers are an optional example for compatible lightweight tools. Command’s product guidance supplies the limits and restrictions below.
Key Specs
- Weight capacity: Up to 4 lb per gripper.
- Compatible handle diameter: 0.8–1 inch.
- Mounting: Adhesive strips on approved smooth surfaces.
Measure the portion of the handle the gripper will hold. A 0.75-inch handle falls below the stated range even if the broom weighs less than 4 lb. Buying a larger pack does not increase each gripper’s weight capacity.
The manufacturer instructs users to keep these grippers at least 1 foot from water or a sink and outside splashing distance. Follow the preparation, application, waiting-time, and removal directions for the exact product.
Don’t assume that no drilling guarantees no surface damage under every condition.
Check Door Clearance Before Mounting
A location behind a door can look unused while still being part of its swing.
Hold the actual tool in its proposed location and open the door slowly through its normal range. Check the head, handle, and space the holder adds. A flat mop may clear when turned sideways but collide when its head pivots; test its normal stored position.
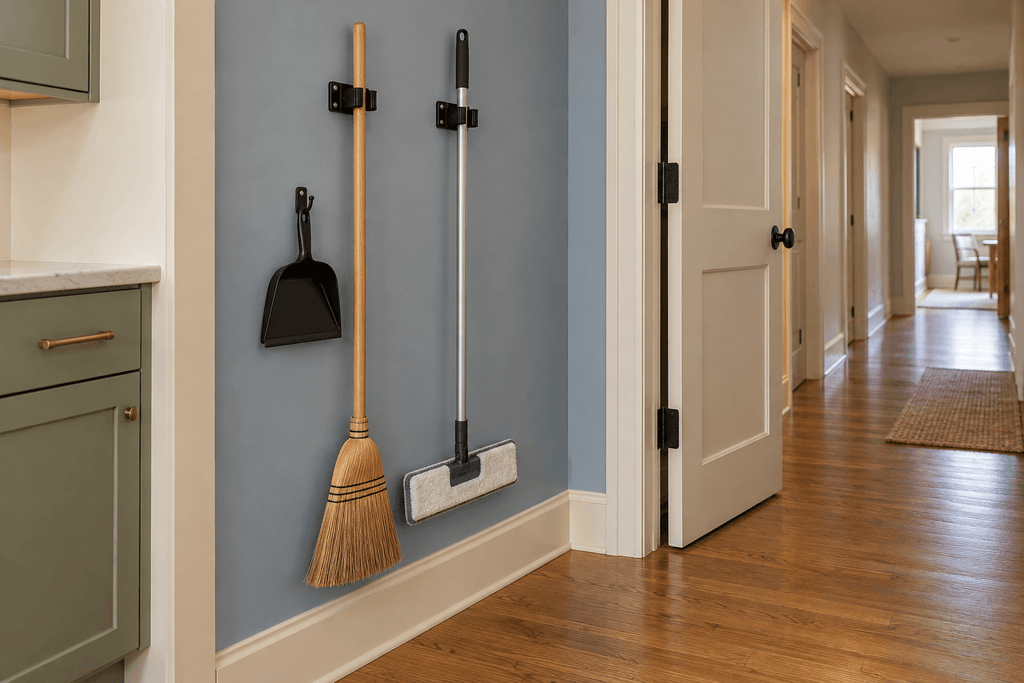
Let cleaned wet mop heads dry appropriately before storing them. Avoid enclosing a damp mop in a tight cupboard just to hide it.
Store the Vacuum You Already Own
A stick vacuum, upright vacuum, and canister vacuum need different amounts and shapes of space.
Stick Vacuums
Check the manufacturer’s storage and charging instructions. Some models need their supplied dock; others can stand or store in a specified configuration.
If a dock requires screws, check mounting permission and the wall requirements. Position it around a suitable outlet without trailing a charging cord across a walkway.
Include the floor head, handle, and attachments when measuring. A narrow body doesn’t mean the entire vacuum has a narrow footprint.
Upright and Canister Vacuums
An accessible section of an existing closet floor may work if the vacuum can be retrieved without moving other belongings.
For a canister model, contain the hose and tools so they don’t spread into the walkway. Follow the manufacturer’s guidance on hose positioning and storage.
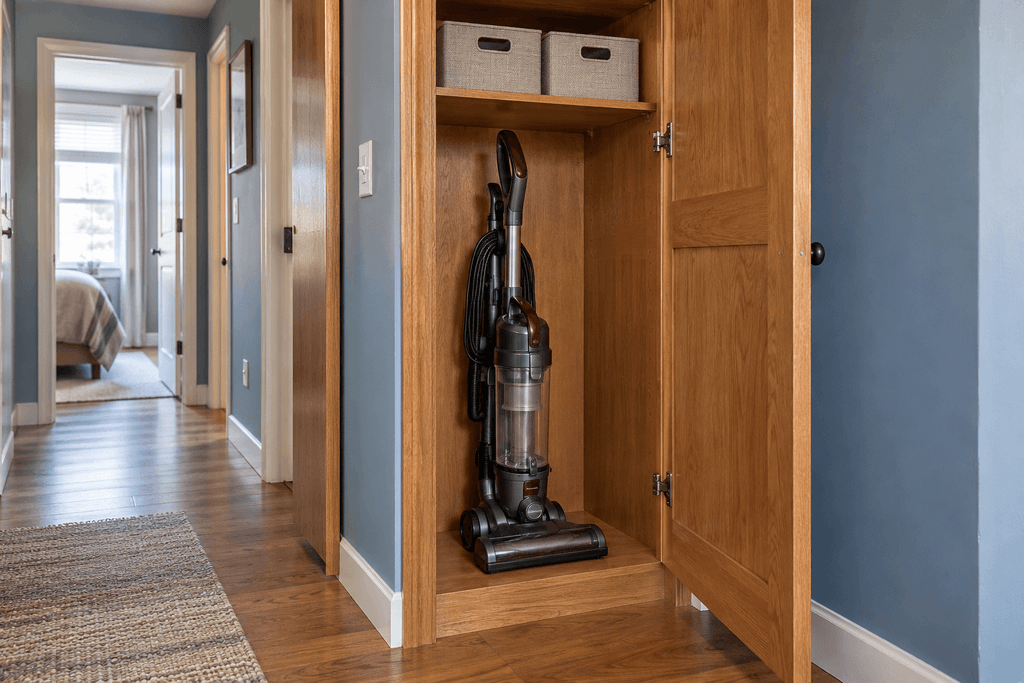
Avoid recommending a generic “universal” stand without confirming compatibility. An extra accessory is useful only if it improves stability or access for that particular vacuum.
Keep smaller attachments in one container near the vacuum. There is little benefit in parking the machine neatly while scattering its accessories around the apartment.
Buy a Separate Cabinet Only When It Solves the Whole Problem
A freestanding cabinet can provide enclosed storage, but check its interior before treating it as a replacement utility closet.
Measure:
- Internal height for long-handled tools.
- Usable width and depth around the shelves.
- Door clearance.
- Space for the vacuum’s floor head or body.
- Mounting or anchoring requirements.
Fixed shelves may prevent a tall cabinet from accommodating a broom. A narrow exterior may also hide an interior too small for your cleaning kit.
Follow the cabinet’s assembly and anchoring instructions. If it requires wall attachment, don’t present it as a completely installation-free rental solution.
If adding furniture narrows the walkway or obstructs another cabinet, reconsider the location. A distributed arrangement can work better than one crowded cleaning cupboard.
Put the Locations Together
For an apartment with usable under-sink space but no tall cleaning cupboard, a practical arrangement could be:
- Bottles: A removable kit in an appropriate secured cabinet, with compatible refills grouped separately.
- Broom and dry mop: Suitable holders on a dry wall, where tools and mounting meet the requirements.
- Vacuum: An accessible closet-floor section or manufacturer-approved dock, with attachments nearby.
Account for what those locations displace. Moving shoes out of the closet to park the vacuum creates another problem unless the shoes have a home.
If no location accommodates your tools, measure them before considering replacements. A collapsible handle or detachable vacuum may change the footprint, but replacement is unnecessary spending when rearranging existing storage would work.
How These Product Examples Were Chosen
These examples were selected from manufacturer specifications and matching Amazon US listings for their narrow footprint or no-drill mounting. They have not been personally tested for this article and are not presented as category winners. Fit and installation depend on your home and tools.
Test Retrieval Before Buying More Organizers
Take out the daily-use kit. Remove the broom. Retrieve the vacuum and its attachments. Open nearby doors, then return everything.
If each action requires moving several unrelated objects, change the placement before adding more storage.
The goal is a repeatable routine: supplies stored appropriately, tools easy to retrieve, and doors and walkways still usable. You may need two or three locations to achieve that, even without a utility closet.