Shower Storage For Textured Tile: No-Drill Options For A Small Shower
Disclosure
This post may contain affiliate links. If you purchase through these links, I may earn a small commission at no extra cost to you. As an Amazon Associate I earn from qualifying purchases.
A shower shelf can be the right size, hold all your bottles and still be wrong for your bathroom. If its mounting system needs a smooth surface, textured tile can rule it out before you even consider where to put it.
Buying a stronger-looking adhesive shelf does not necessarily solve that mismatch. Neither does choosing a suction cup with a bigger weight claim.
When choosing a shower caddy for textured tiles, start with how it will be supported. Look for a setup that avoids the textured wall, uses another compatible surface, or explicitly permits your particular tile finish.
Then check whether the storage leaves enough room to shower. In a small enclosure, an organizer that stays attached but catches your shoulder or tangles with the handheld hose is still a poor fit.
Check What “Textured Tile” Means In Your Shower
A matte finish, raised pattern and porous stone are different surface characteristics. Do not assume a product approved for one is approved for the others.
Check the tile information if you have it. For a rental, your landlord or property manager may be able to identify the material or finish. A photograph and the tile details can also help the organizer manufacturer assess compatibility.
Before choosing a mounting location, look at:
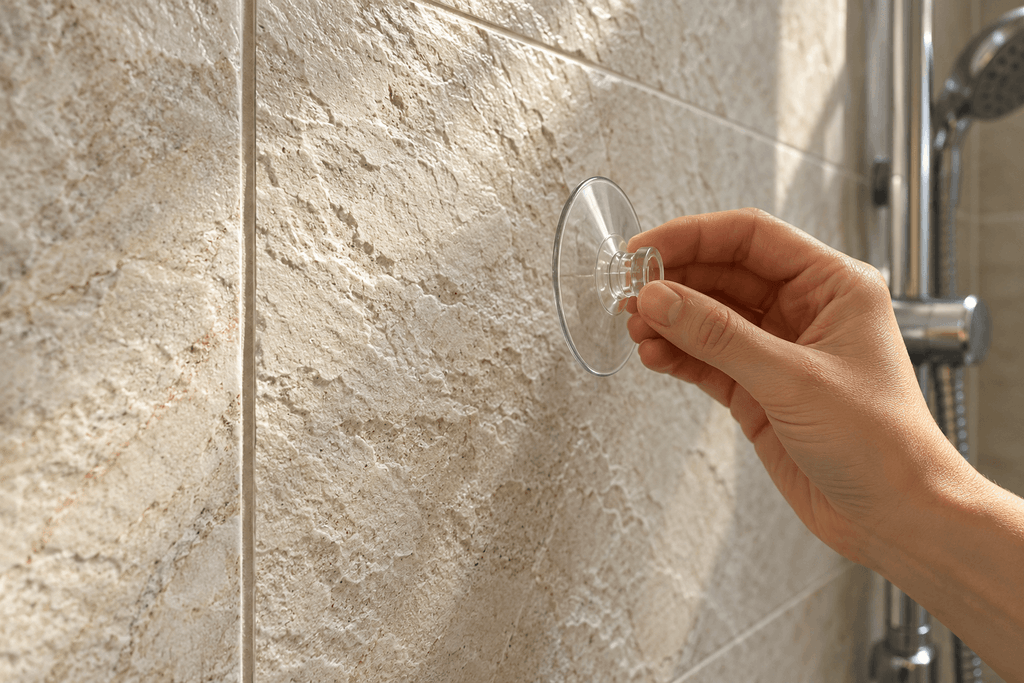
- Surface texture: Does the tile have ridges, pits or a raised design where the mount would sit?
- Material and finish: Is it glazed ceramic, porcelain, stone or another material? Does the mounting product explicitly allow it?
- Grout placement: Would a suction cup or adhesive pad cross a joint?
- Condition: Is the surface sound, rather than flaking, cracked or covered with a failing coating?
A mount advertised as suitable for “tile” is not automatically suitable for every tiled shower.
For example, OXO’s StrongHold Suction Corner Basket is intended for smooth glazed surfaces, mirrors or glass. OXO specifically excludes textured or porous surfaces. That restriction matters more than a general promise of strong suction.
If the instructions do not establish compatibility, choose another mounting method or ask the manufacturer before installing it.
A Tension Caddy Can Avoid Attaching To The Tile
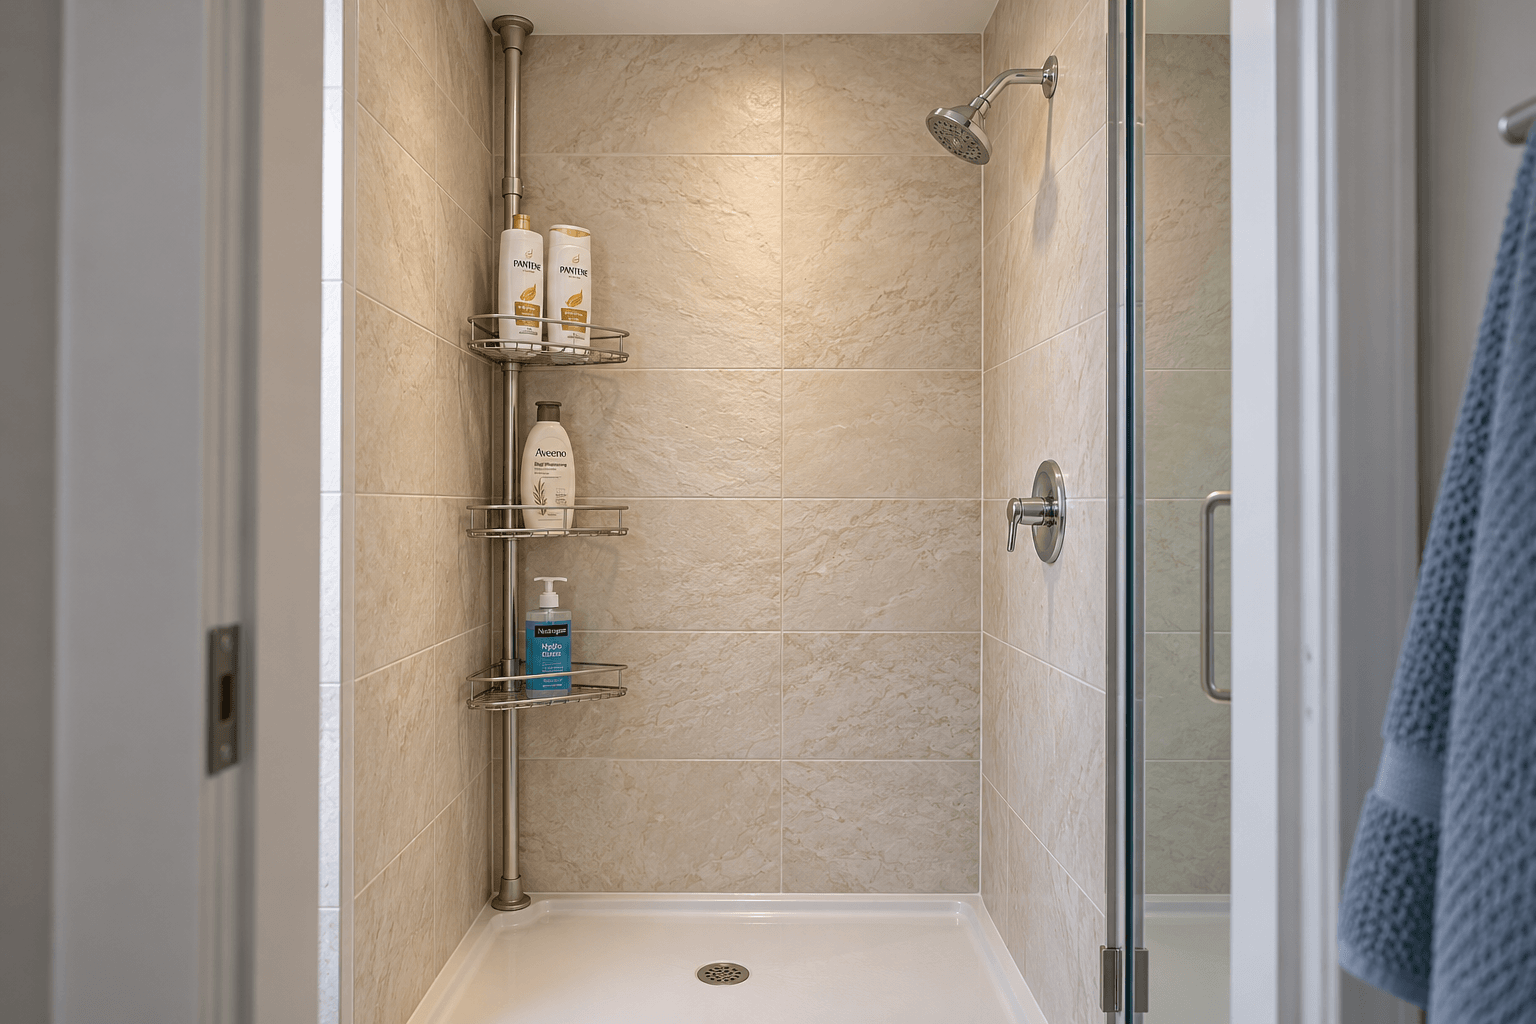
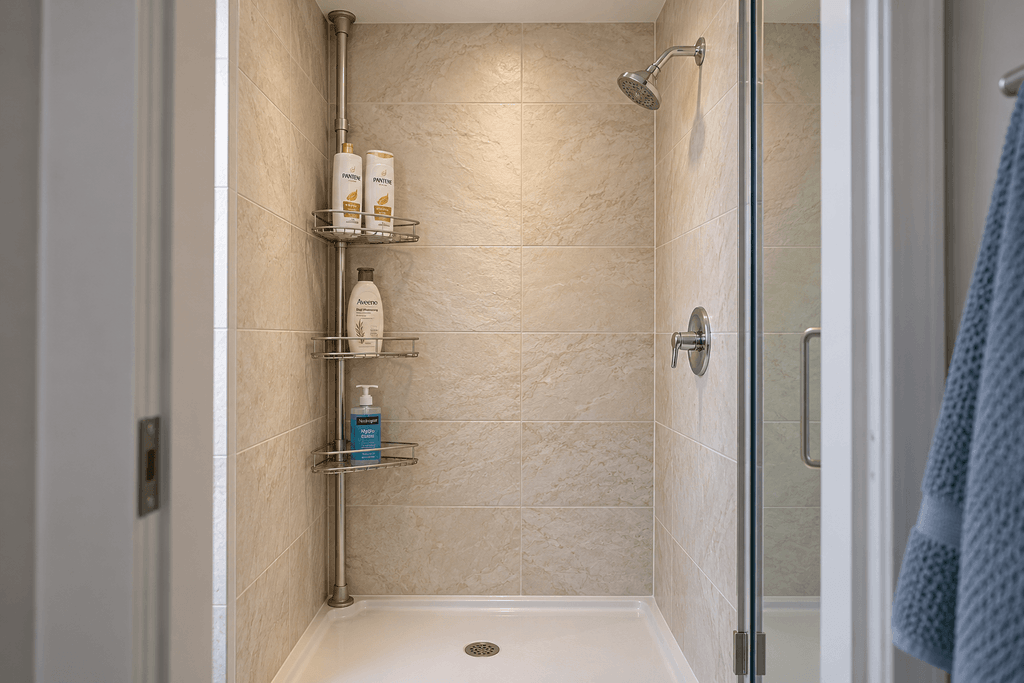
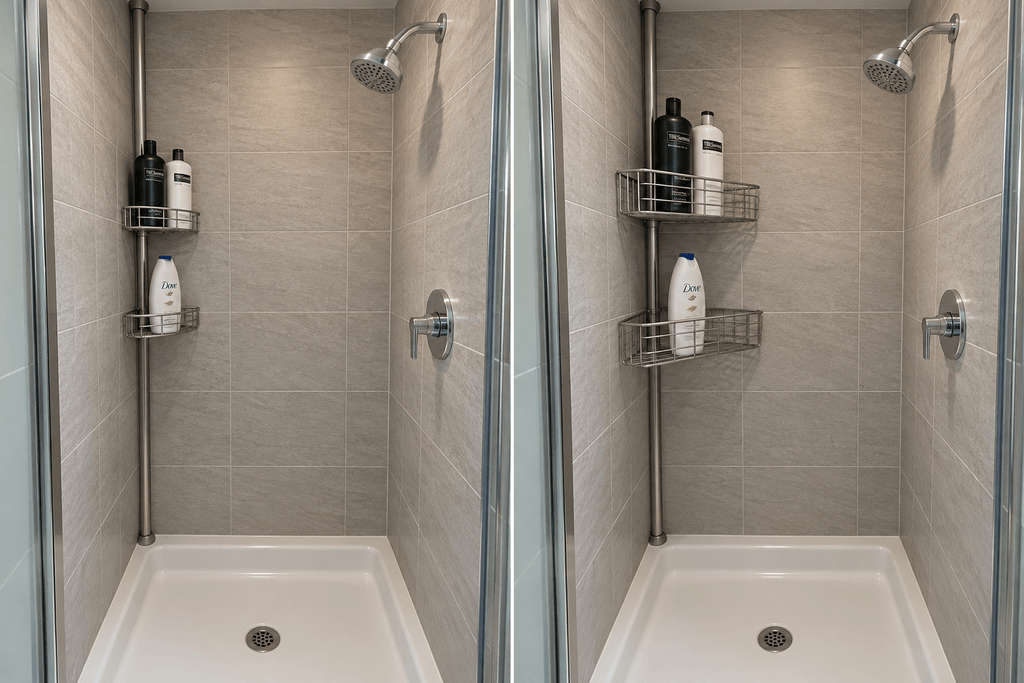
A floor-to-ceiling tension caddy is worth considering when the wall is unsuitable for suction or adhesive mounting.
Its pole is supported between the lower surface and ceiling, so the textured wall does not have to hold the shelves. However, the pole still needs suitable contact surfaces and the correct installation height.
Measure from the exact place the lower foot would stand to the ceiling directly above it. A measurement taken elsewhere in the bathroom may not match a raised shower base or tub ledge.
Check the instructions for the exact model. Do not assume every pole accommodates the same height range or can stand on a narrow, curved or sloping ledge. If the ceiling is sloped, flexible or otherwise uncertain, confirm suitability before using pressure-mounted storage.
The Simplehuman BT1062 uses a floor-to-ceiling tension pole. Its manufacturer installation guide covers extension configurations for spaces from 6 to 9 feet.
This is an example of a mounting method that bypasses the tiled wall, rather than a guarantee that it fits every small shower. Simplehuman’s shorter 8-foot model is a different product, so check the selected version before ordering.
Check The Shelves, Not Just The Pole
A slim pole can carry shelves that project noticeably into the enclosure.
Picture yourself washing your hair, turning around and reaching the controls. Check the lowest shelf against your knees and feet, and the upper shelves against your shoulders and elbows.
Leave the drain accessible and make sure you can clean around the base. If the caddy only works by occupying your standing position, a smaller daily-use collection may be more useful than several tiers of storage.
A Hanging Caddy May Still Need Suction For Stability
An over-showerhead caddy can look like an obvious answer because its main weight hangs from above.
But check the rest of the design. Some models also use suction cups to prevent the lower section from swinging or sliding sideways.
That creates two separate questions:
Can the upper hanger attach as intended, and can the lower supports work on the available surface?
For example, OXO’s Aluminum 3-Tier Shower Caddy uses a hook together with adjustable suction cups. The upper hook does not make the lower mounting requirements irrelevant.
Do not assume that leaving the suction cups unattached preserves the intended stability. Look for explicit manufacturer guidance for your setup rather than improvising a fastening around the shower arm.
Also check whether the hanger fits the fixture. A fixed shower arm, handheld slide bar and ceiling-mounted rain shower are not interchangeable attachment points.
In a compact shower with a handheld showerhead, follow the hose through its full movement. You should be able to lift the handset, rinse and return it without threading the hose around shelves or moving bottles first.
A hanging caddy is a candidate only when its complete support system suits the shower.
Smooth Glass May Give You Another Mounting Location
Textured walls do not necessarily mean every surface in the enclosure is unusable.
A suitable smooth glass panel may provide a mounting location for an accessory that explicitly permits glass. Follow the exact product’s rules for surface preparation, placement and loading.
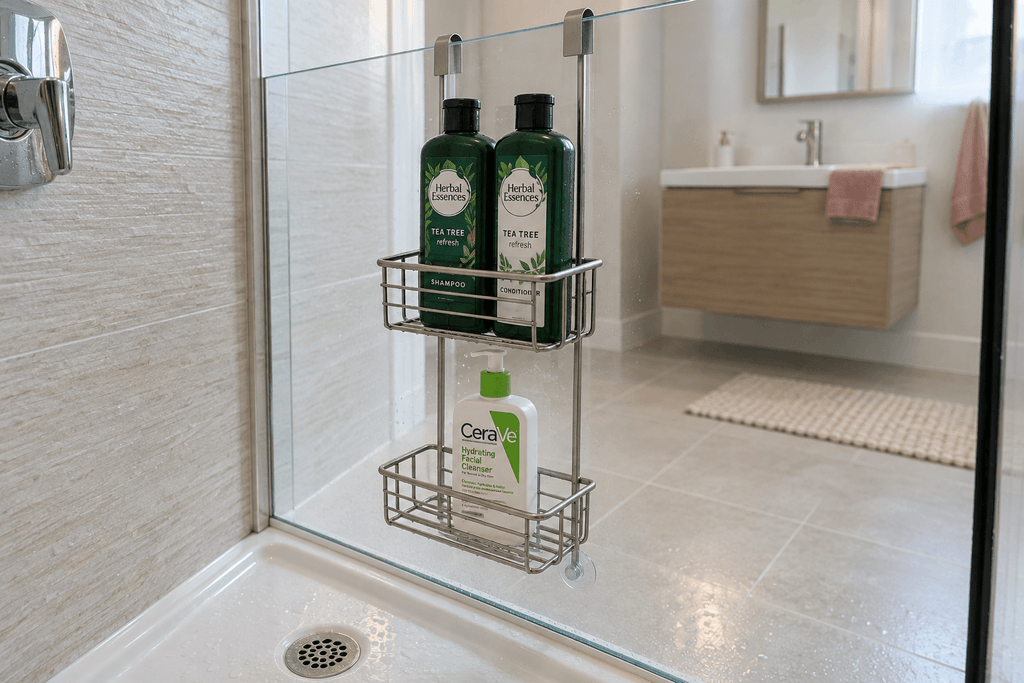
An over-door caddy is another possibility when the enclosure and caddy instructions allow that installation.
Check more than the hook width:
- Does the hanger fit without interfering with the seal or closure?
- Does the door open through its normal range?
- Do the shelves clear the wall, controls and other fixtures?
- Are any lower suction supports attached to a compatible surface?
- Can you reach the bottles without leaning around the door?
A fixed panel and a moving door create different situations. If the caddy travels with a hinged door, assess its entire movement with the shelves and bottles in place.
Avoid treating a shower curtain rod as a substitute hanging point unless the organizer and rod manufacturers explicitly support that use.
Use Adhesive Storage Only When The Exact System Permits Your Surface
Some specialized adhesive systems are marketed for textured tiles. That does not make ordinary adhesive strips suitable for the same job.
Approval belongs to the specific organizer, supplied adhesive and stated surface conditions. Changing one of those changes what you can reasonably rely on.
A higher load rating does not override an excluded surface. Extra cleaning or a longer waiting period also does not establish compatibility that the manufacturer has not claimed.
A Verified Example: ShowerGem
ShowerGem’s manufacturer guidance explicitly includes textured tiles for its supplied glue-and-bracket system. The published dimensions for each unit are approximately 7 inches wide, 3 inches deep and 15 inches tall.
The manufacturer specifies a 24-hour setting period before attaching the caddy. Its FAQ also excludes laminates, wallboards and vinyl and advises contacting the bathroom-surface manufacturer to confirm suitability.
Those details make it a relevant example to investigate, especially where a shallow wall unit could preserve standing space. They do not prove compatibility with every textured finish or establish how it will perform in your particular shower.
Read The Removal Instructions Before Installing
“No drilling” describes installation. It does not, by itself, promise an acceptable removal process for your rental.
ShowerGem describes removal using a paint scraper or blunt knife. Consider that process alongside the finish of your tile and any landlord restrictions before committing.
Also distinguish between removing the basket for cleaning and removing the mounting bracket from the wall. A clip-off shelf may leave its adhesive mount in place.
Do not replace the supplied adhesive with construction glue or unrelated strips and retain the original product’s compatibility or load claims.
Check How Much Room The Loaded Storage Uses
Once a mounting method is suitable, assess the organizer with your actual bottles.
Shelf depth is only part of its working footprint. A pump may project beyond the basket, and a tall bottle may need extra space above it to lift out.
As an illustrative example, a shelf projecting 4 inches from a wall leaves 4 inches less space at that location. A bottle leaning beyond its edge uses still more. That calculation helps describe the tradeoff; it does not establish a universal minimum shower width.
Check the activities that happen around the proposed position:
Turning: Can you rotate and wash without repeatedly brushing the shelf?
Reaching: Can you take out a bottle without moving the one in front?
Using the controls: Can you adjust the temperature without reaching through stored products?
Using a handheld shower: Does the hose move freely?
Opening the enclosure: Does the loaded organizer clear the door and handle?
Do not press a pump dispenser while it sits on a mounted shelf unless the instructions permit it. Some organizers require you to remove the bottle first, which makes bottle-removal space especially important.
When Neither The Wall Nor The Fixtures Offer A Suitable Mount
Some small showers have textured walls, unsuitable hanging points and no practical space for a tension pole.
In that situation, a portable shower kit can be a sensible fallback.
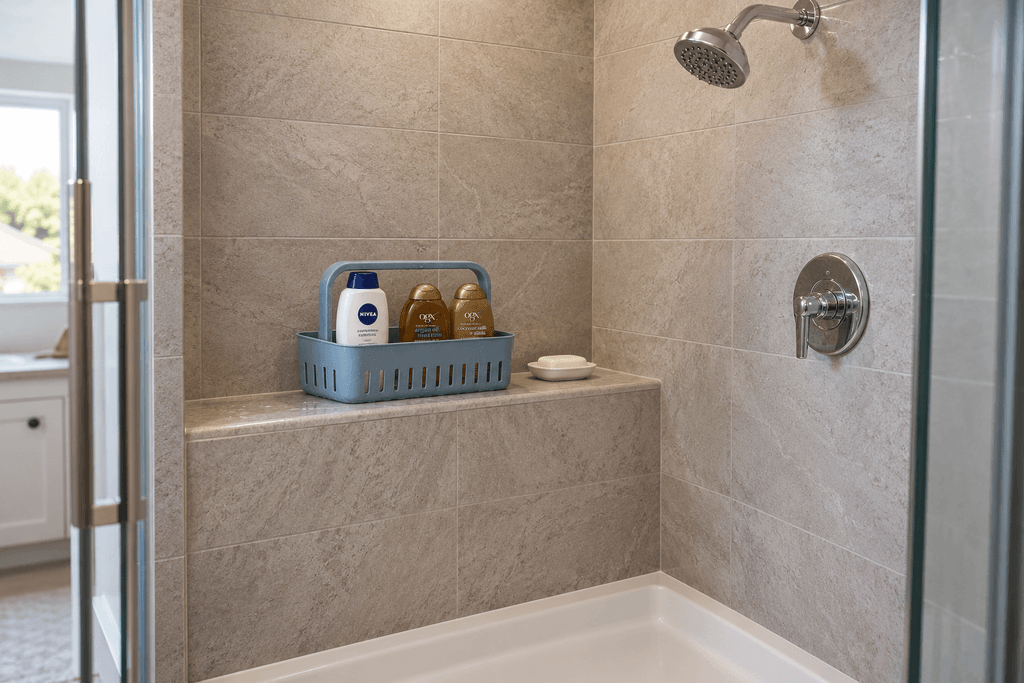
Keep the products used during a shower together in a manageable, washable caddy. Bring the kit in when needed, and give it a stable position where it does not obstruct your feet, the drain or the exit.
An existing suitable ledge may work. If there is no reachable position inside the enclosure, place the kit within comfortable reach from the opening only if you can use it without stepping wet onto the bathroom floor or making an awkward stretch.
If you cannot establish a stable, accessible position, the portable kit is not a complete solution either. Avoid replacing an unreliable shelf with a routine that requires balancing bottles.
After use, allow the wet kit and its contents to drain and dry in a suitable location before returning them to dry storage. A mesh bag inside a closed cabinet is not a drying arrangement.
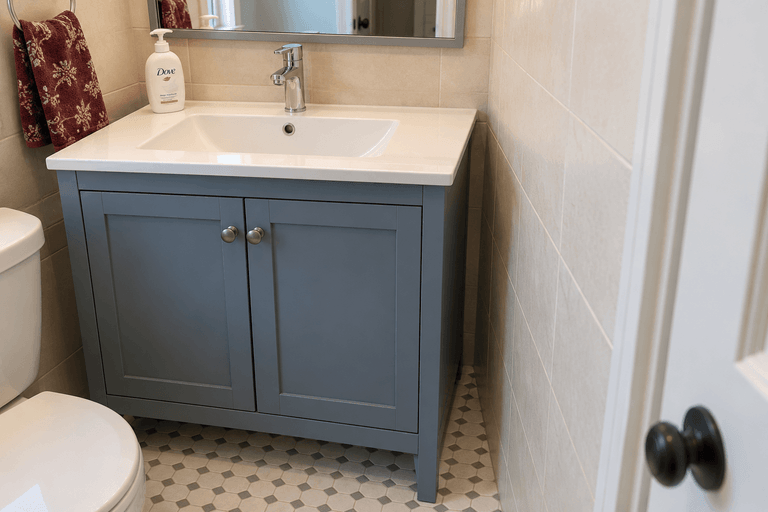
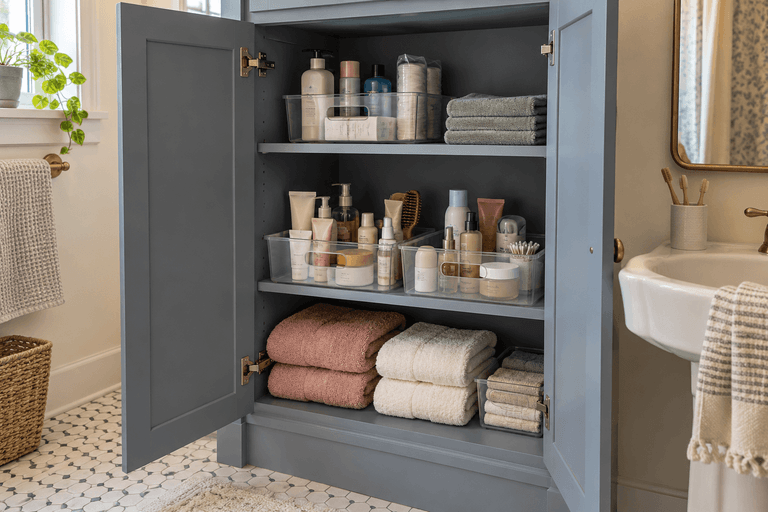
Where the basin is also crowded, our guide to organizing a small bathroom with no counter space explains how to separate sink essentials, shower products and supplies stored elsewhere.
Keep The Daily Collection Smaller Than The Backup Collection
Before adding a second organizer, separate products currently in use from unopened replacements and occasional treatments.
This does not mean everyone sharing the shower must use the same shampoo. It means the shelf should serve the bottles that need to be there now.
For a shared shower, check the arrangement against each person’s products. A setup that fits short body-wash bottles may not accommodate someone else’s tall pump bottles.
Store suitable backups outside the enclosure. Reducing the collection can make a shallower organizer workable but it cannot make an incompatible mounting surface suitable.
Choose The Mount First, Then Check The Shower Routine
For textured tile, the most useful order is:
- Confirm the surface and the complete mounting requirements.
- Check installation height, fixture fit or permitted adhesive conditions.
- Check the loaded shelves against movement, doors and the handheld hose.
- Confirm cleaning, removal and any required waiting period.
- Install and load only as the manufacturer directs.
You do not need the organizer with the most shelves. You need one that stays supported as intended, keeps the products accessible and leaves the shower comfortable to use.
If that cannot be achieved with wall storage, change the storage method rather than trying to make the wrong mount hold.
One Comment
Comments are closed.